Follow The Bits - Eye Tracking hardware for VR
This post is about the first serious Virtual Reality projects I’ve had the joy to participate in. I was contacted by Atoms2Bits because they needed custom hardware made for the Virtual Supermarket.
When we started this project in 2015 there was no off-the-shelf eye tracking hardware available, so we had to develop this ourselves. This post is a short writeup about the collaboration, hardware we developed, the process and my part in the work.
What is Follow The Bits?
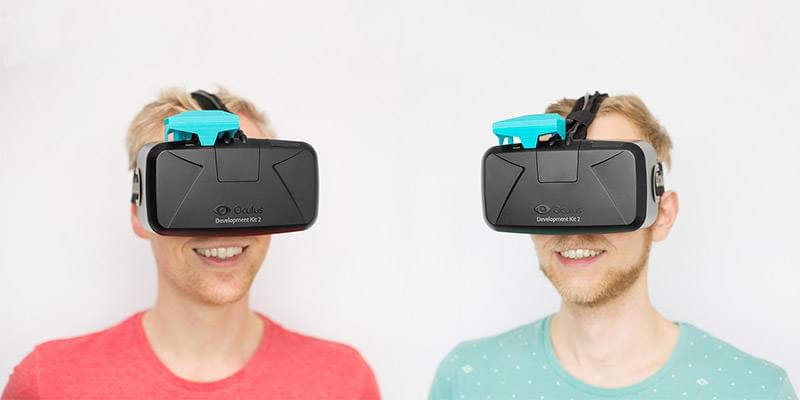
Our first generation VR eye trackers for the Oculus Rift DK2
Follow The Bits is a 2-man label consisting of Joris Helming (left) and yours truly. When we accepted the challenge to develop eye tracking hardware for Virtual Reality, we basically came up with this label to promote our activities. The name itself is a hint to the client, Atoms2Bits BV.
What is VR Eye Tracking?
Eye tracking is best explained using an example:
![]()
What you see here is the video recorded from inside the Virtual Reality headset. A software algorithm determines the position of the pupil based on the video (the red oval and dot).
Because this is built into a Virtual Reality headset, we know exactly what is presented on the screen inside the headset. With the position of the pupil, we can then determine what catches the attention on the screen. To see an application of this, please check out my work on the Virtual Supermarket.
Our first Oculus DK2 Eye Tracker
We started out with a question whether we could integrate eye tracking equipment into an Oculus DK2, a 2nd generation development kit for the Oculus Rift. The supply of those Development Kits was limited so we had to be very careful not to damage anything. But we had no idea how robust an Oculus Rift DK2 would be.
As always, it started with disassembling and a simple prototype:

We used a basic setup with a camera, infrared LEDs and an infrared mirror (hot mirror). This allowed us to film the eye from the side without interference.
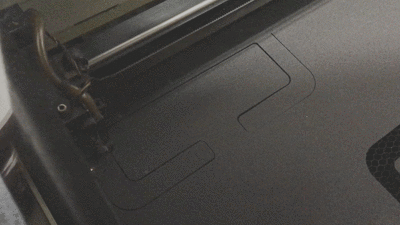
Now that we had the basic setup working, it was time to make it a bit more elegant and repeatable. We have spent a lot of hours of prototyping for our 3D printer to get a stable foundation to build upon (there were no 3D models or technical drawings available for the DK2).

Here you see one of our prototypes being built-up by my Zortrax M200 3D printer.
This is what the end product looks like:
![]()
Because we use infrared light (invisible) so close to the eyes, we wanted to make sure we would pass the IEC-62471 tests for photobiological safety. We are proud to say that we have passed this test with flying colours and users should not be afraid of infrared light damaging their eyes.
The Oculus Rift DK2 developer kit came in a nice cardboard box, but this didn’t meet our standards for professional use (lots of packing/unpacking). Therefore we also designed this custom form-fit flightcase that ensures safety during transport.
Another downside of working with Development Kits is that they are not consumer-grade products. Which means: some things could have been solved differently. We found that the “face mask” on the inside wears quickly. Therefore we also had to spend some time to make our own replacement parts:
HTC Vive Eye Tracker
Fast-forward about a year, we were part of the lucky few to receive one of the first consumer-ready HTC Vive headsets. In the meantime we have worked on some significant improvements:
- We used a different camera that neatly fits inside the headset.
- Better access for cleaning / focusing the camera.
- No permanent modifications needed to install our latest eye tracker (no drilling, soldering or glue required).
Our latest HTC Vive eye tracker looks like this:
![]()
Still, the HTC Vive is intended for the consumer market. It uses:
- a PC
- the HTC Vive headset
- 2 controllers
- 2 base stations
- a link box
- 2 tripods (optional, but often necessary)
- a link cable (optional, but sometimes necessary)
- extension cables for the PC, Vive and charging the controllers
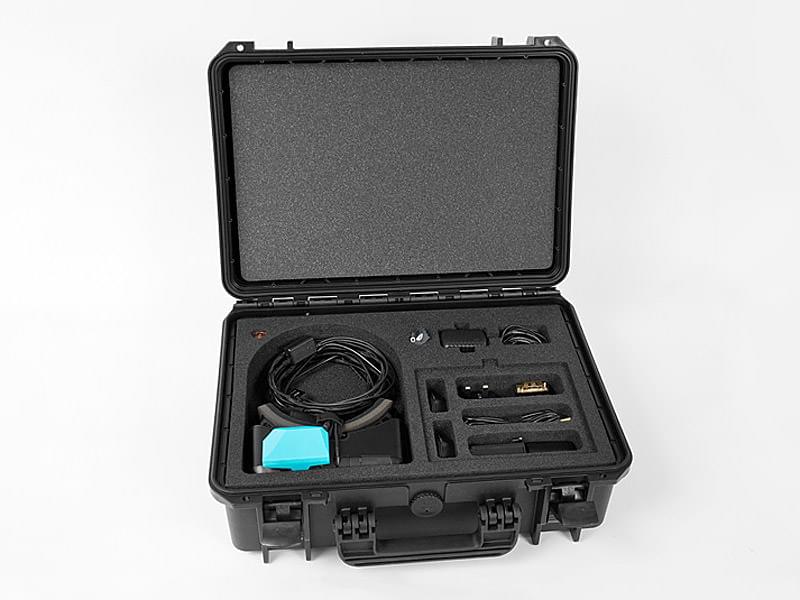
Which is a lot to connect/disconnect and move frequently, which is often required for professional or mobile use. To tackle this, we also designed a custom flightcase for the full VR setup:
![]()
All the necessary equipment can be stored inside the flightcase and is pre-connected, so all you have to do is connect 1 power cable to get going. A real time-saver for our team too ;-)
How I’m involved
- Entrepreneur
- Strategic development
- Product Development (hardware)
More information
- Follow The Bits website
- Atoms2Bits and the Virtual Supermarket
- Image courtesy: header image by Joris Helming Fotografie